What happens on a Tasmanian Photography Tour: a day from first light to the night sky
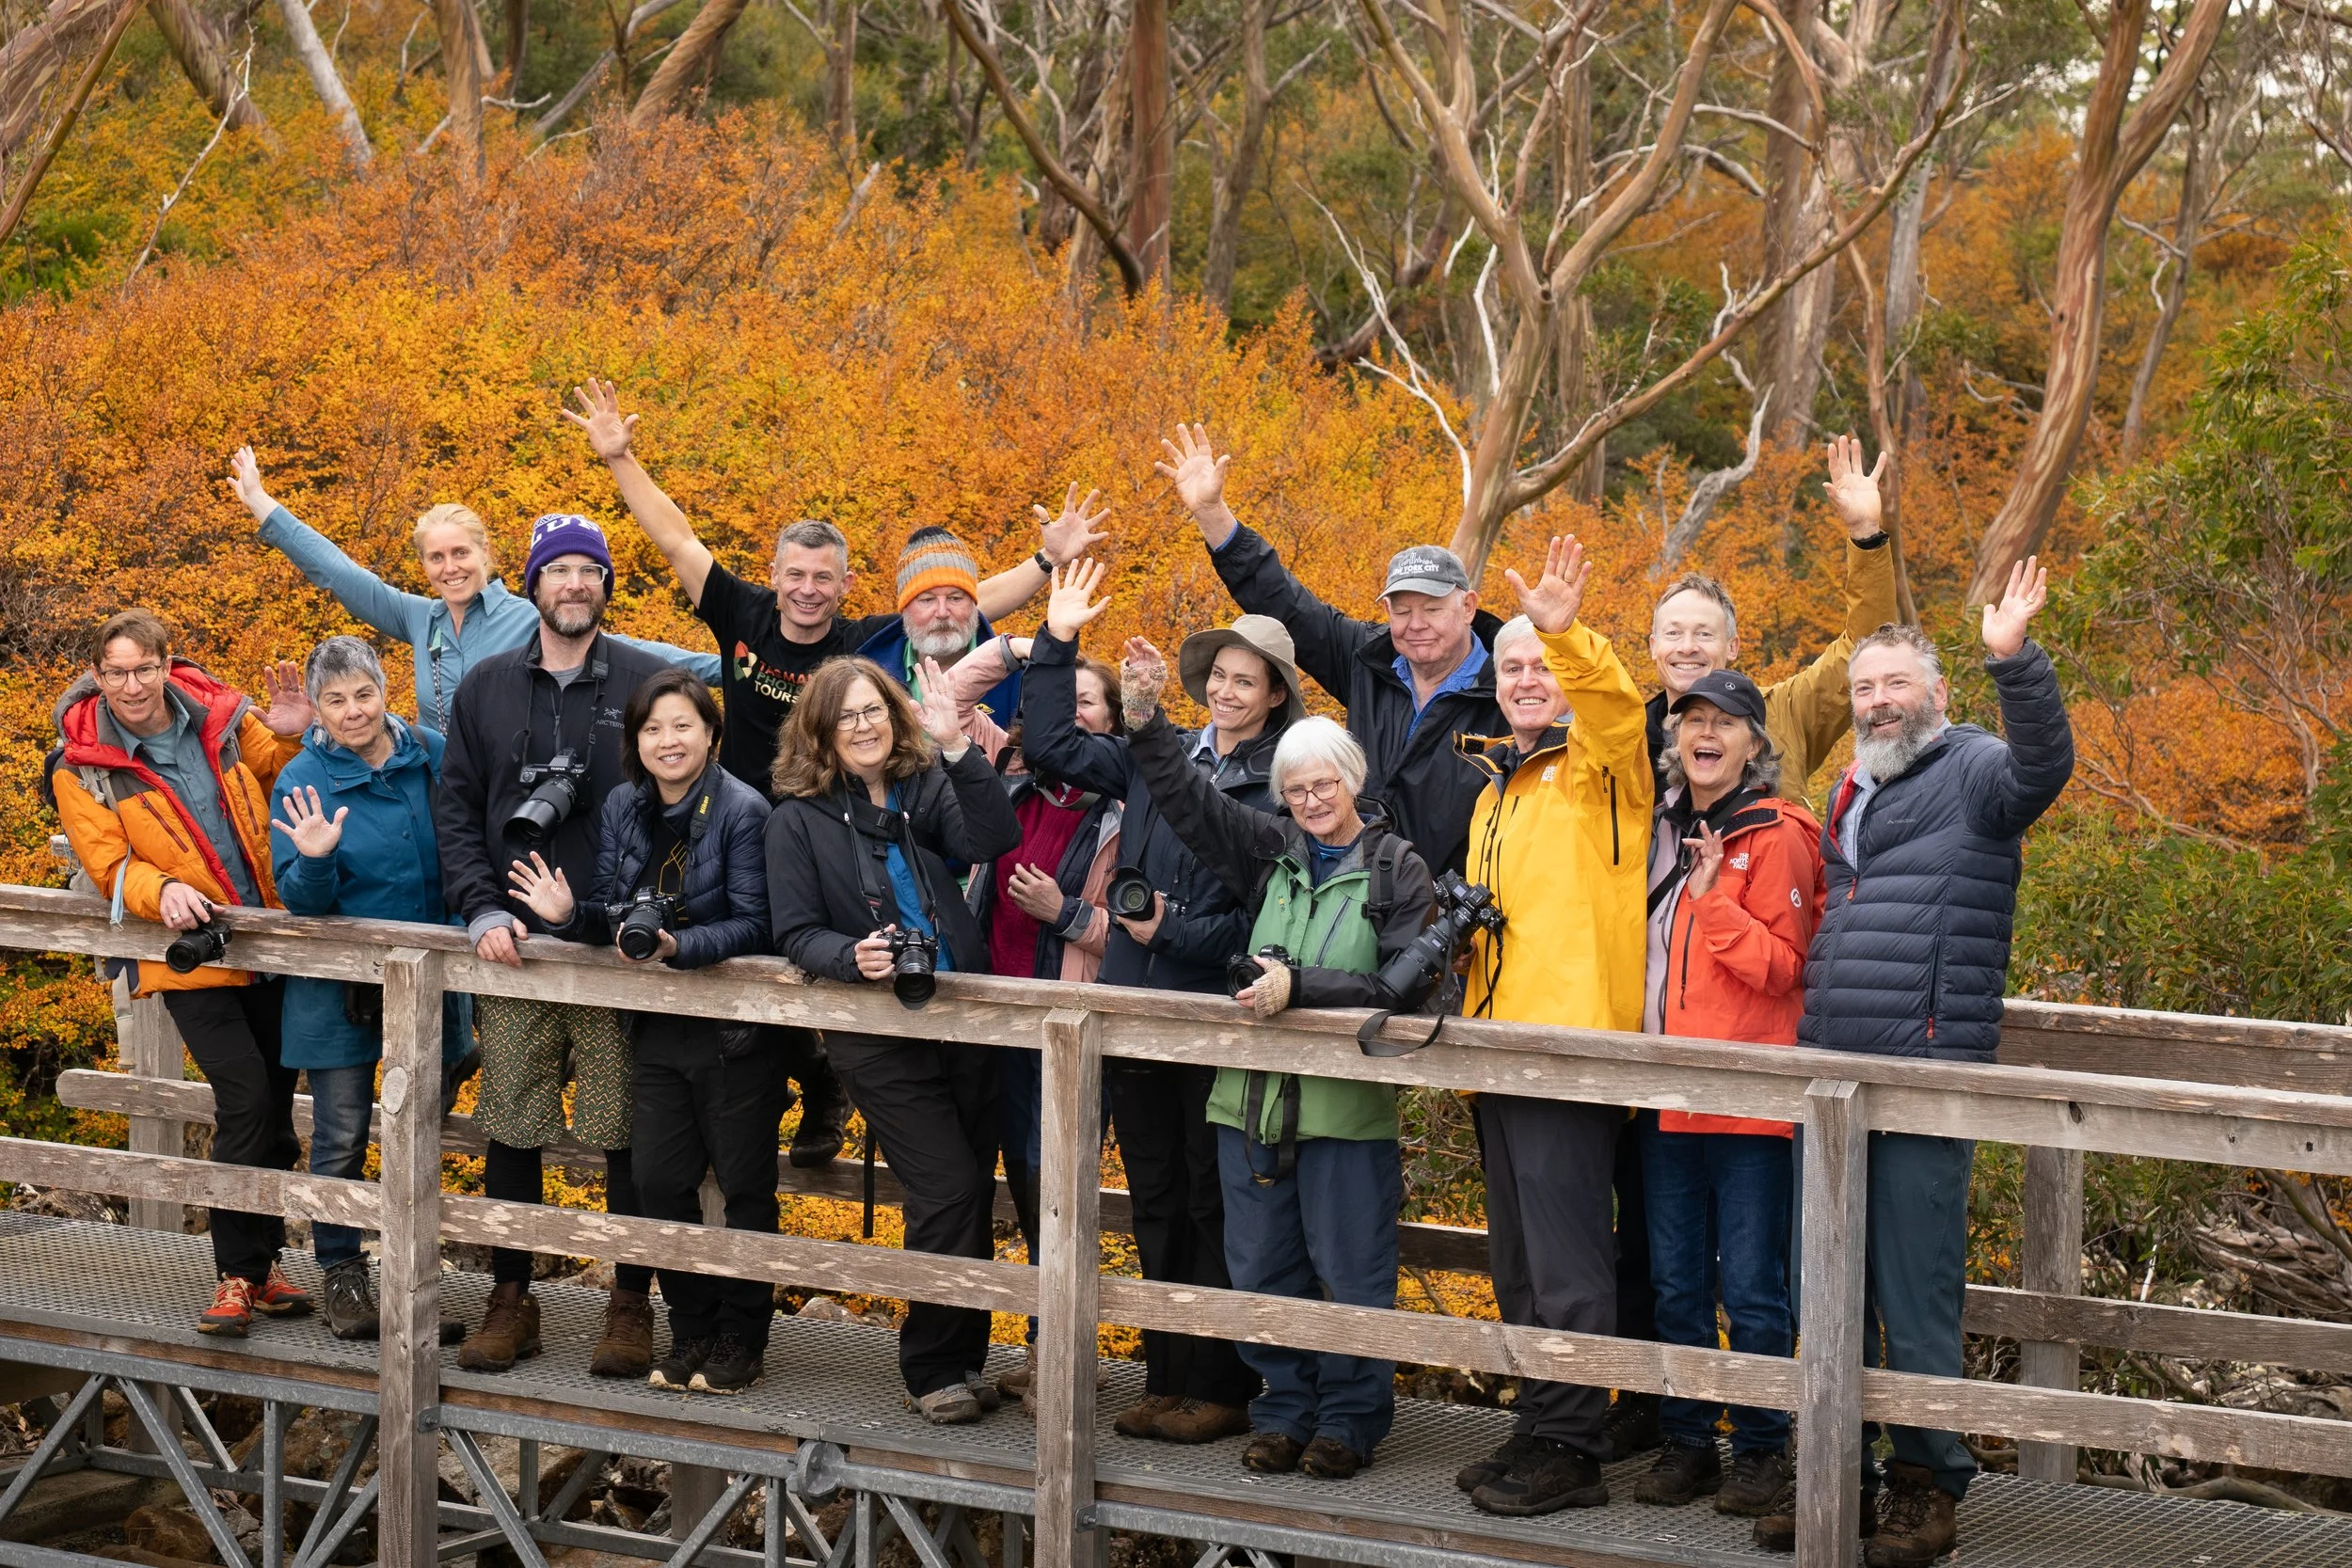
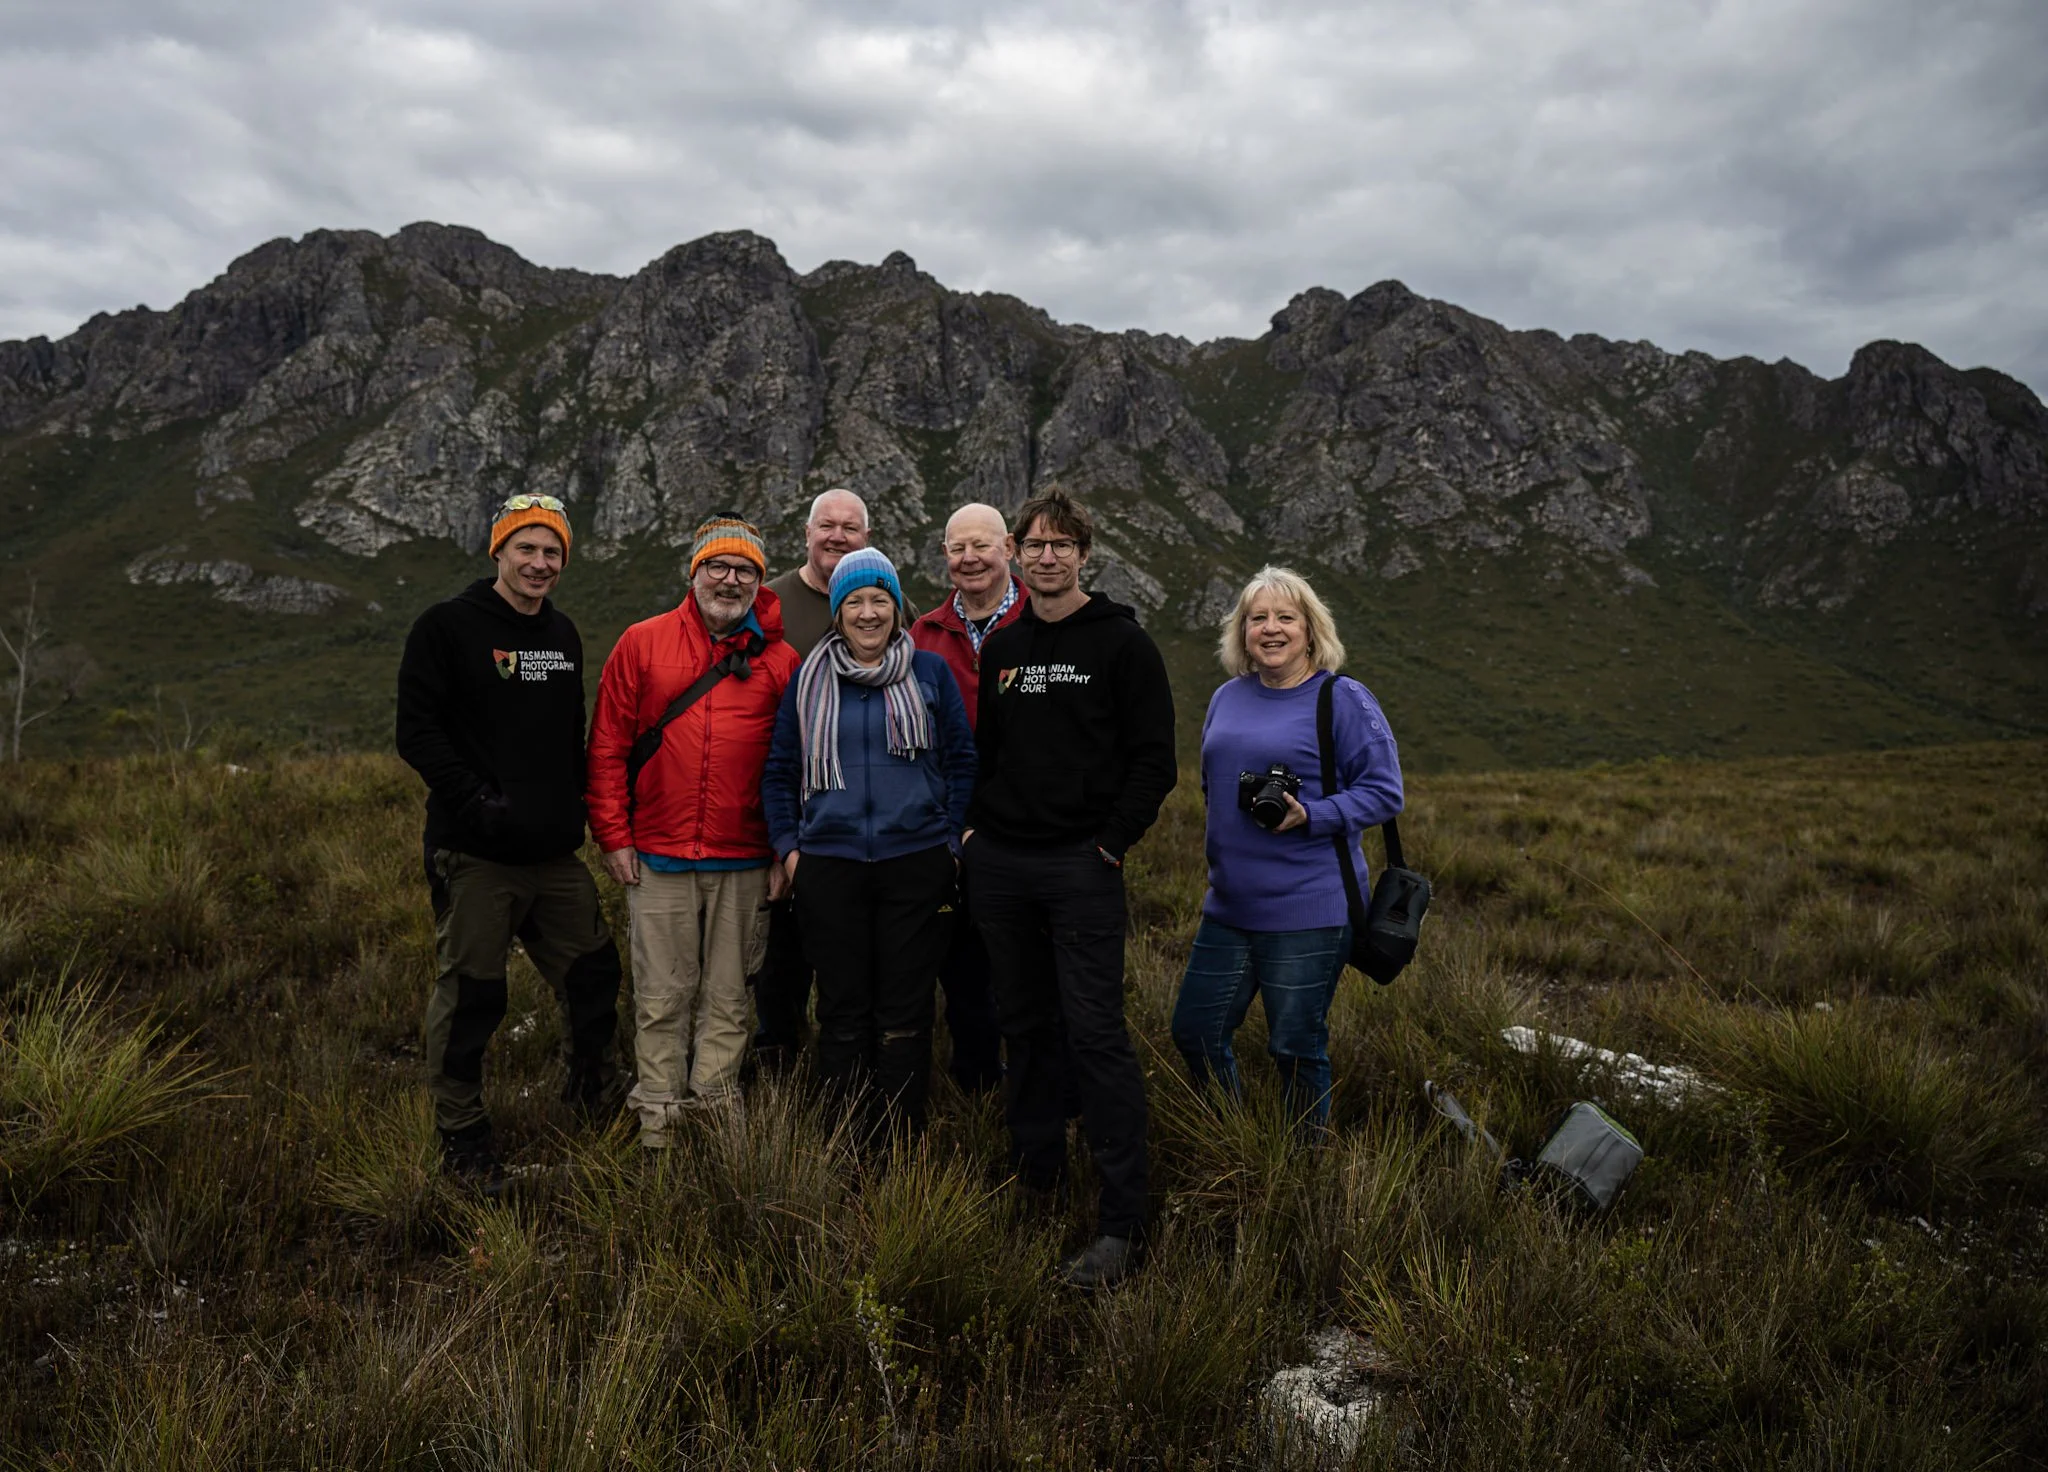
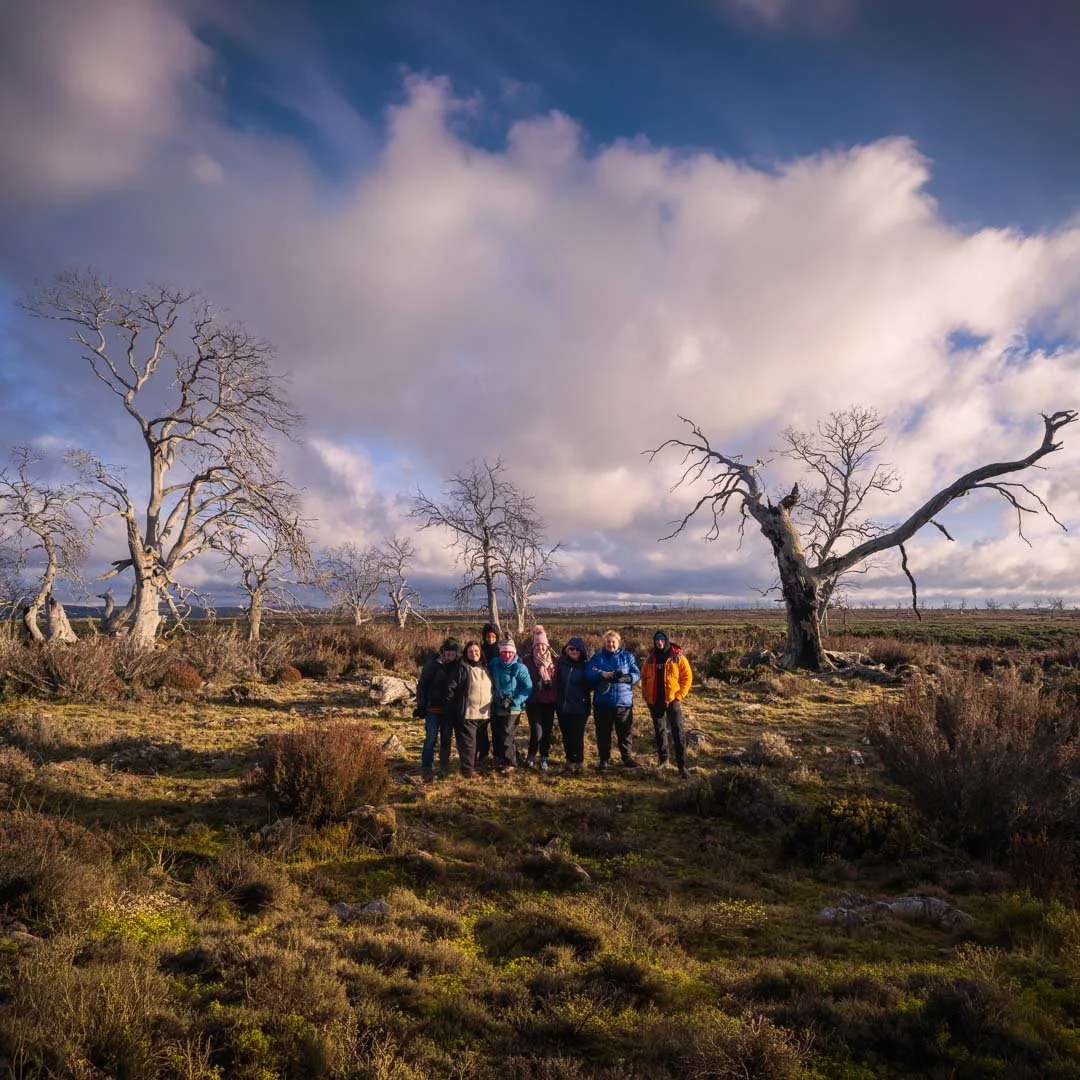
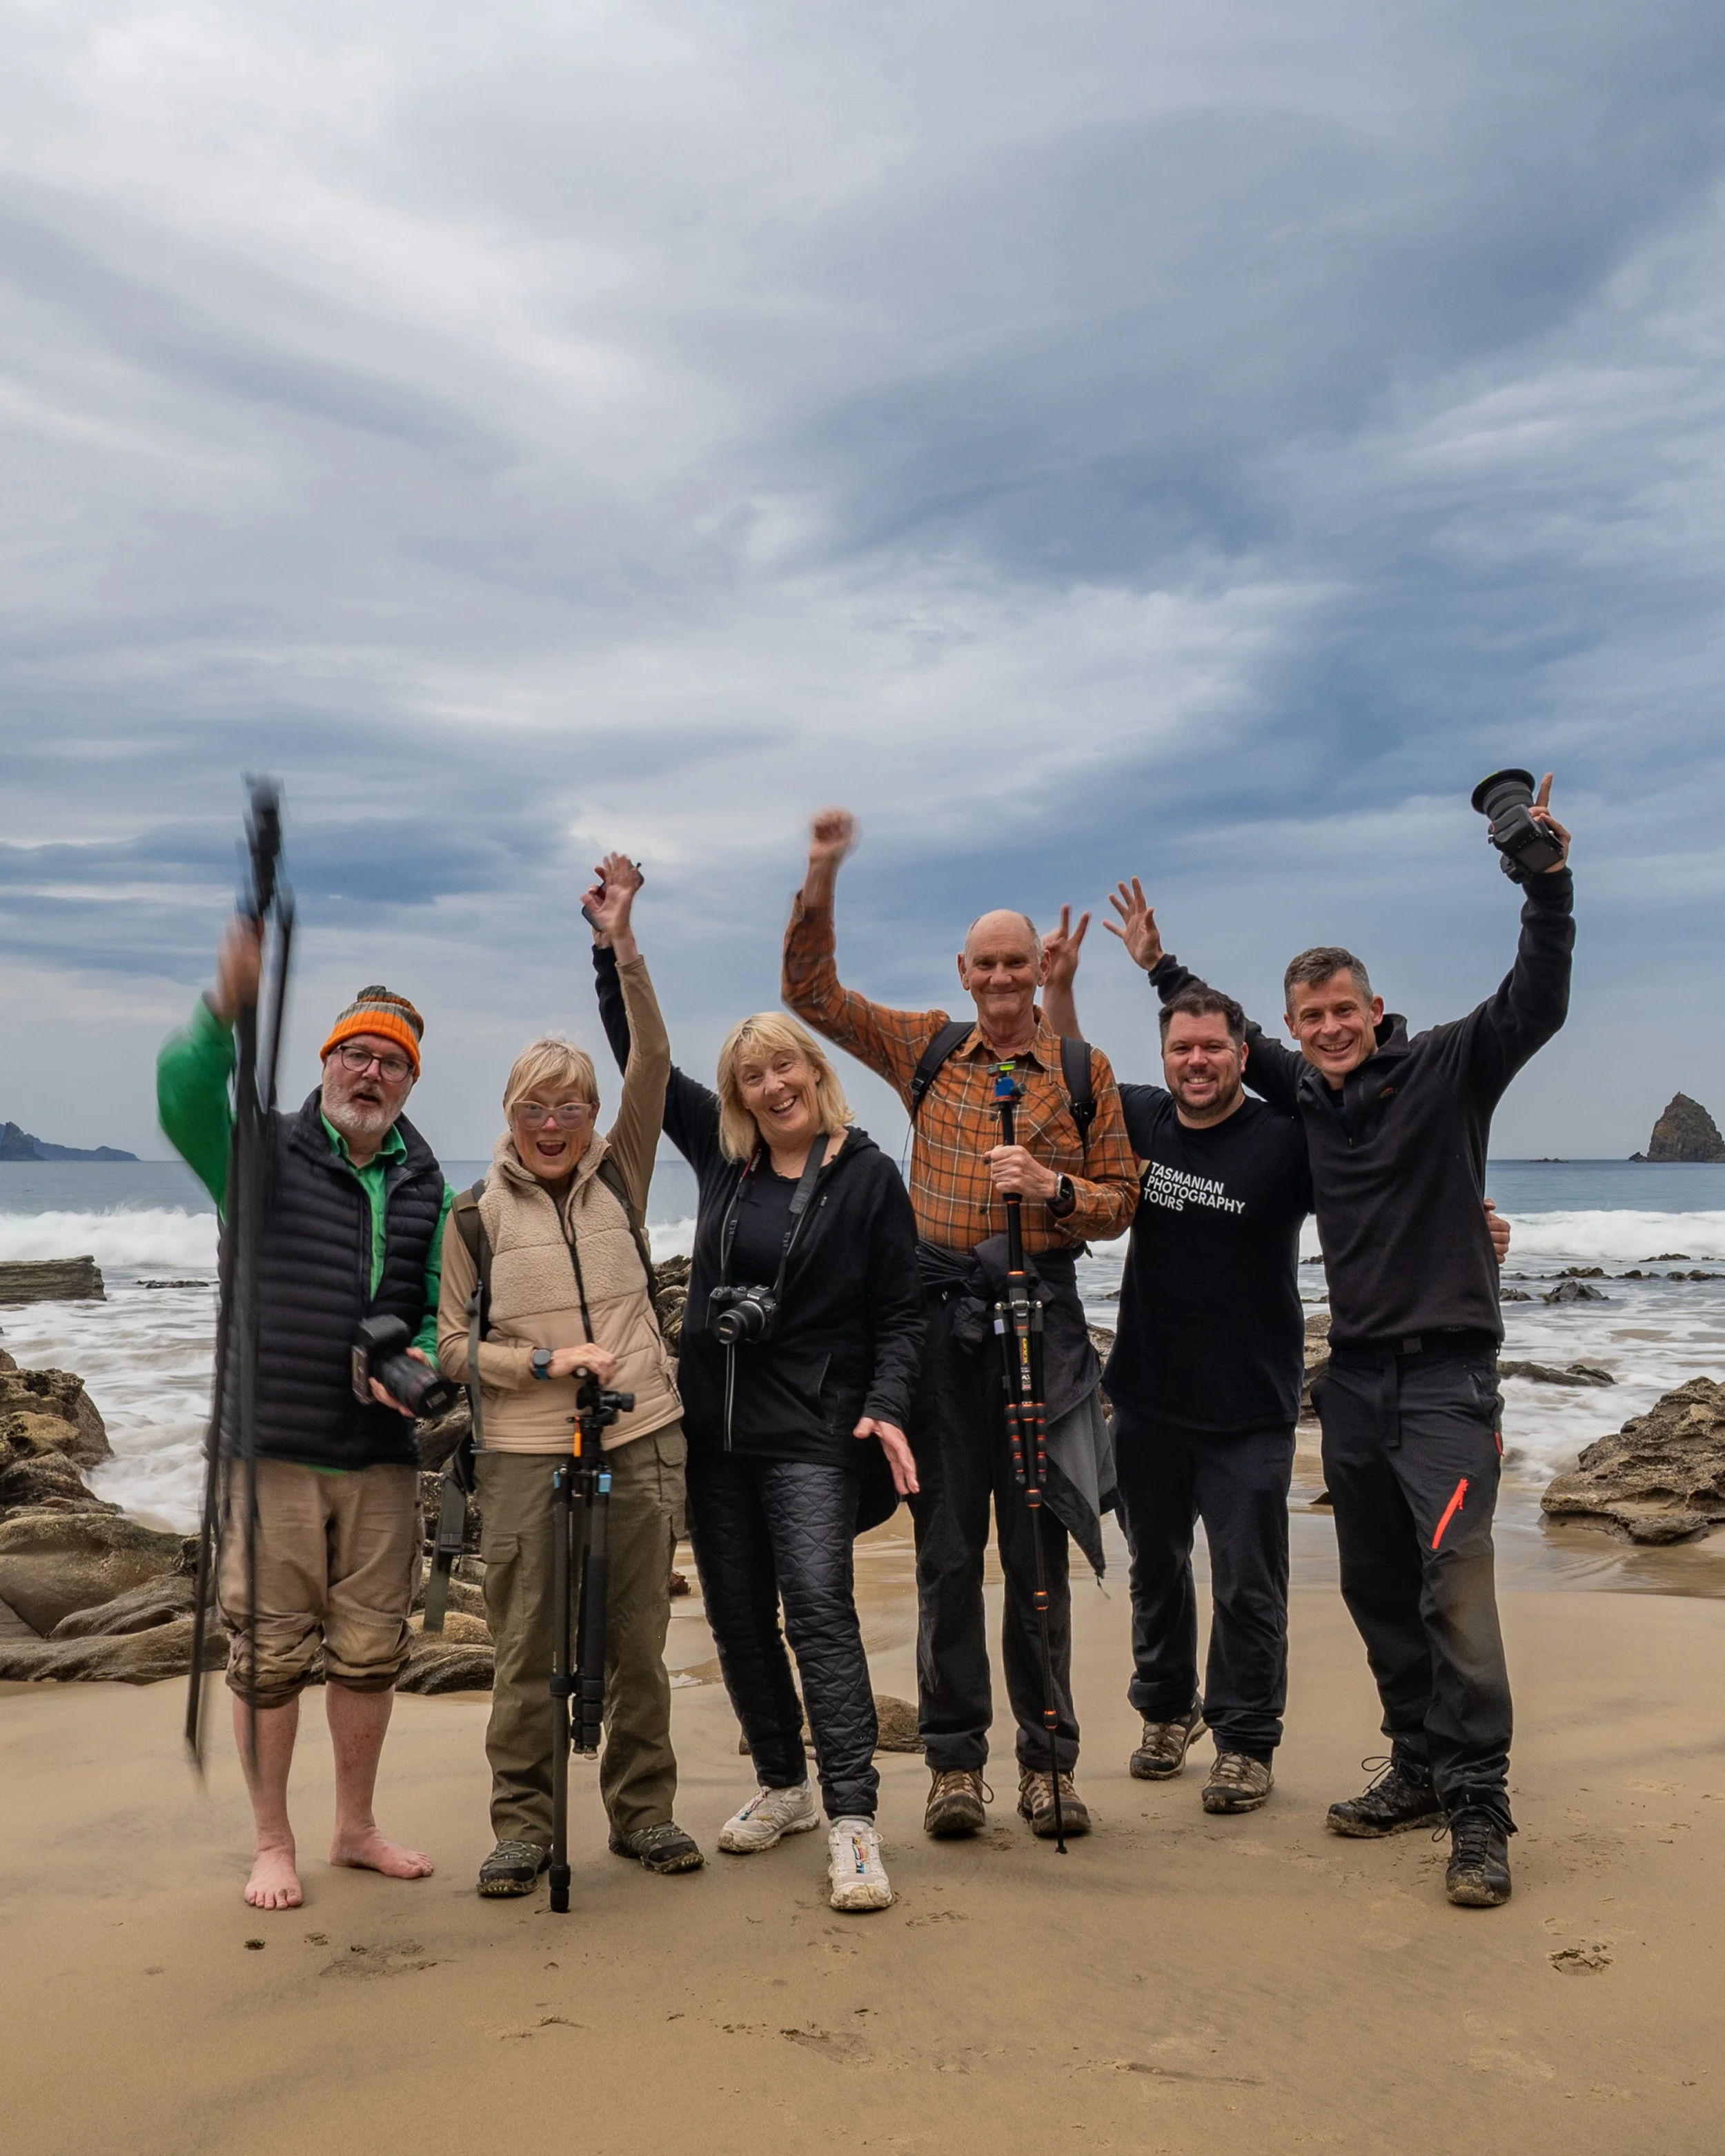
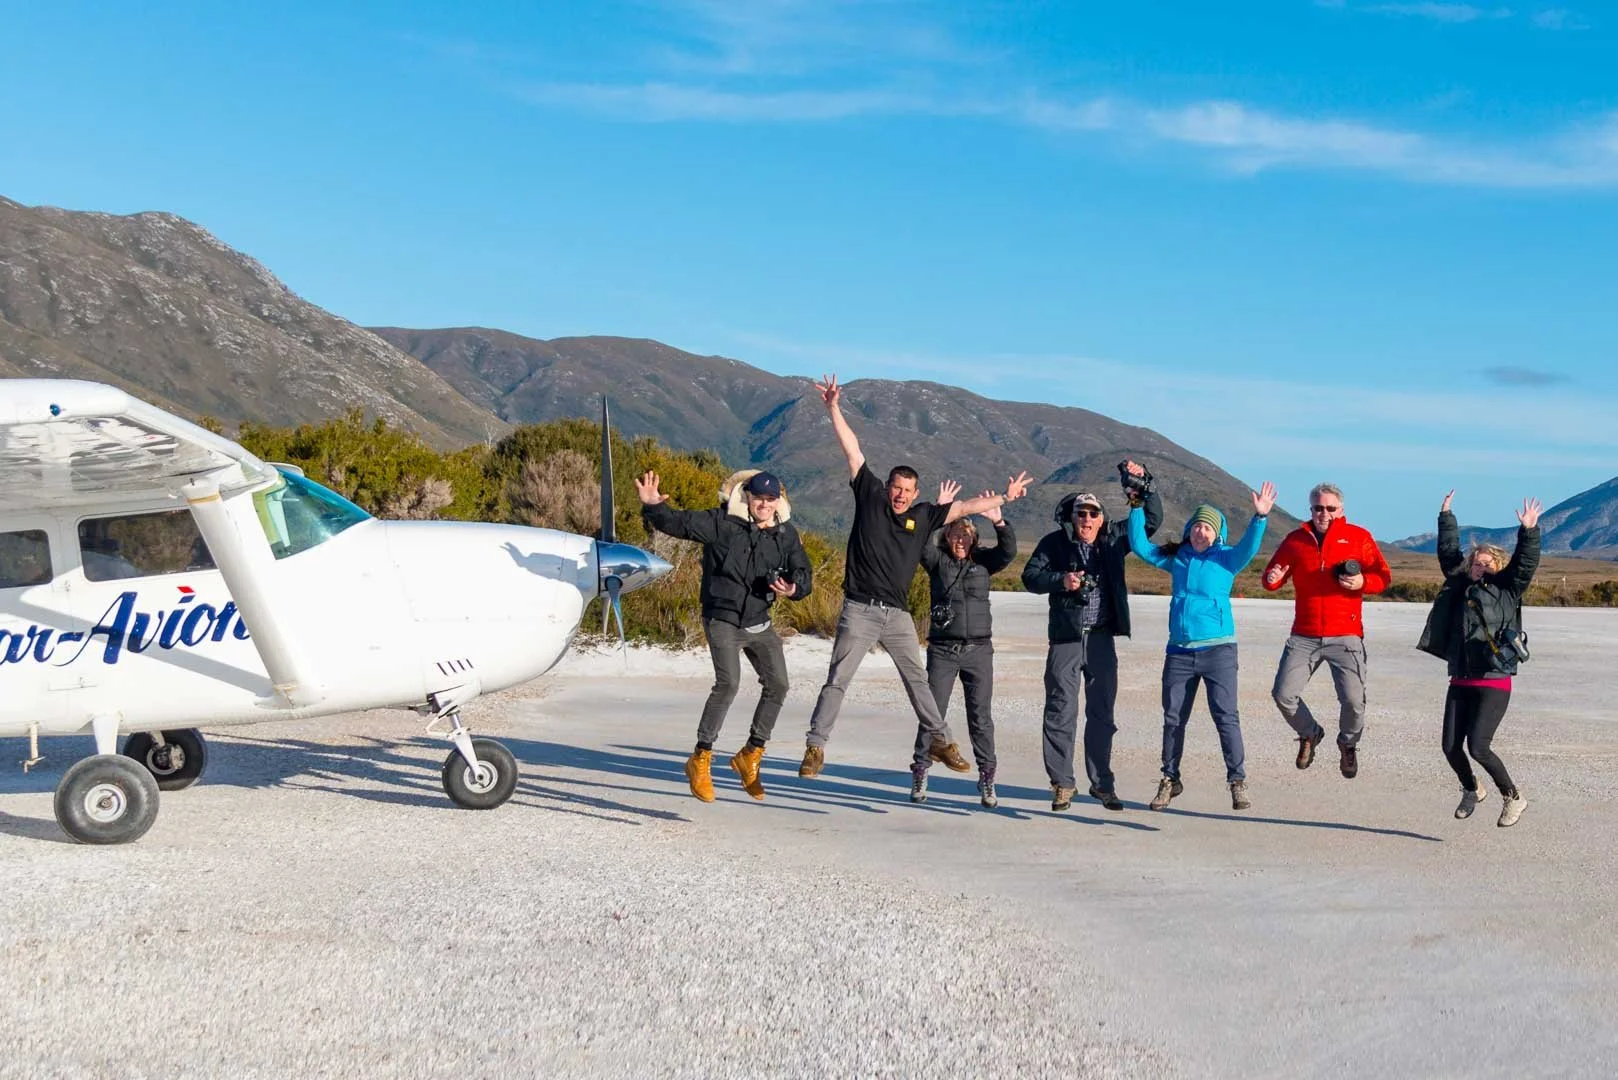
A day on one of our tours runs on the light. On most occasions, we head out in the dark for sunrise, spend the middle of the day editing and go back out for golden hour and sunset, then eat well and chase the night sky if it is clear. Six guests, two instructors, one goal: you go home with finished photographs you are proud of.
No two days are the same. We plan around the light, the weather and the conditions and change the plan when a location calls for it. This is the rhythm most days follow. If people want more or less time editing, we adjust. Each group is different and we cater for this.
Day one: getting you ready
The first day starts with practical technical sessions to set you up for what is ahead. Camera settings, composition, how the days will work. Whether you bought your camera last month or have been shooting for years, day one makes sure everyone starts on solid ground.
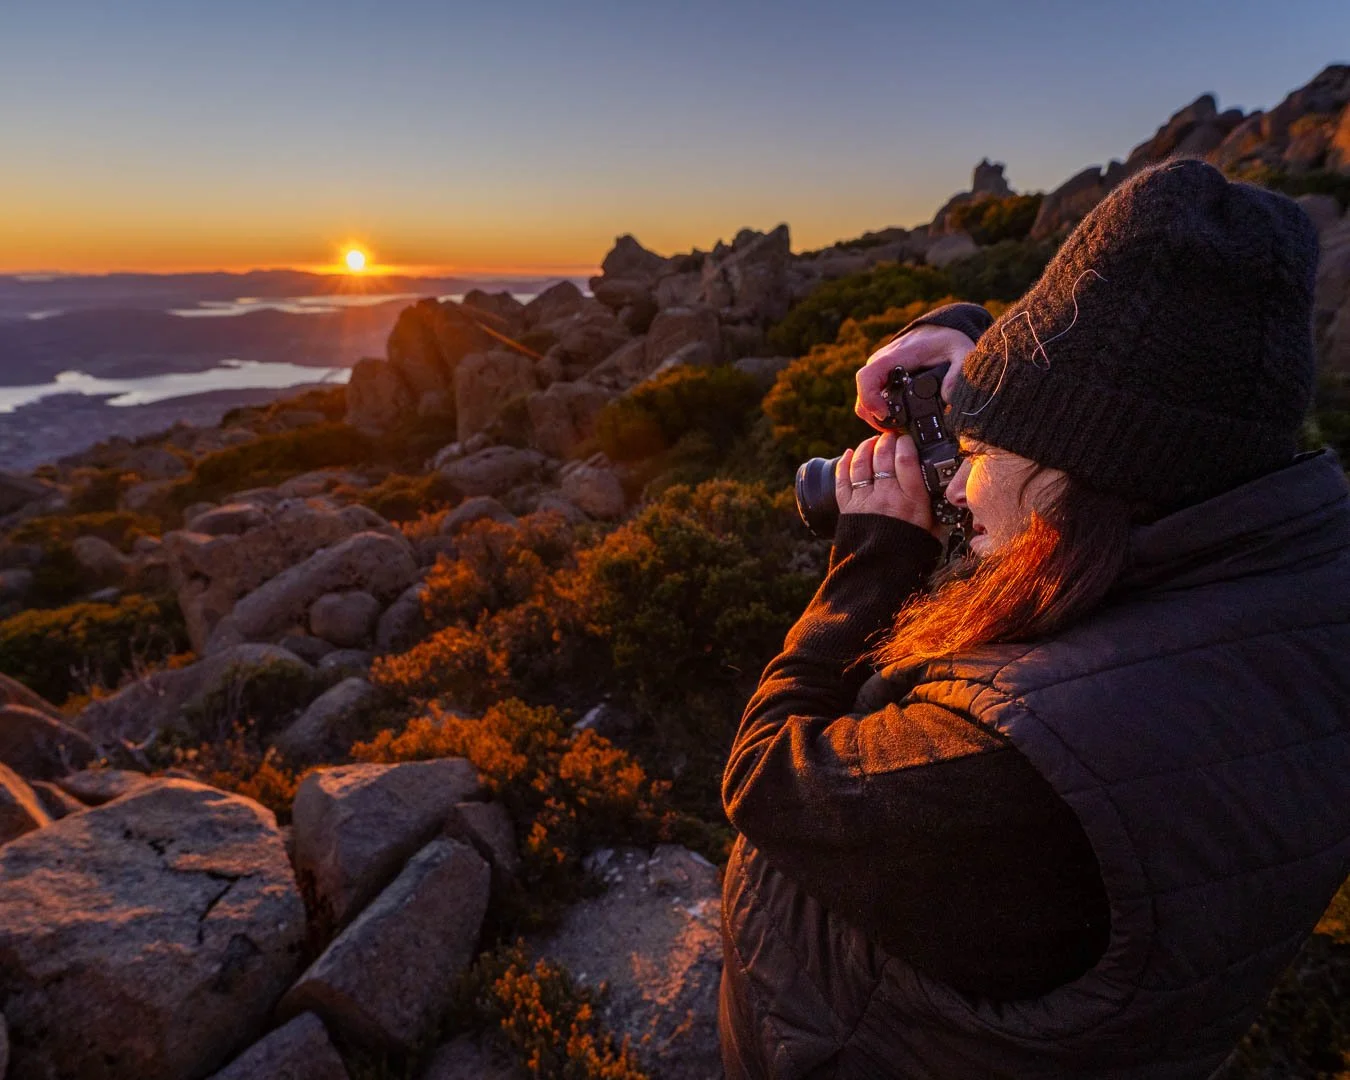
First light
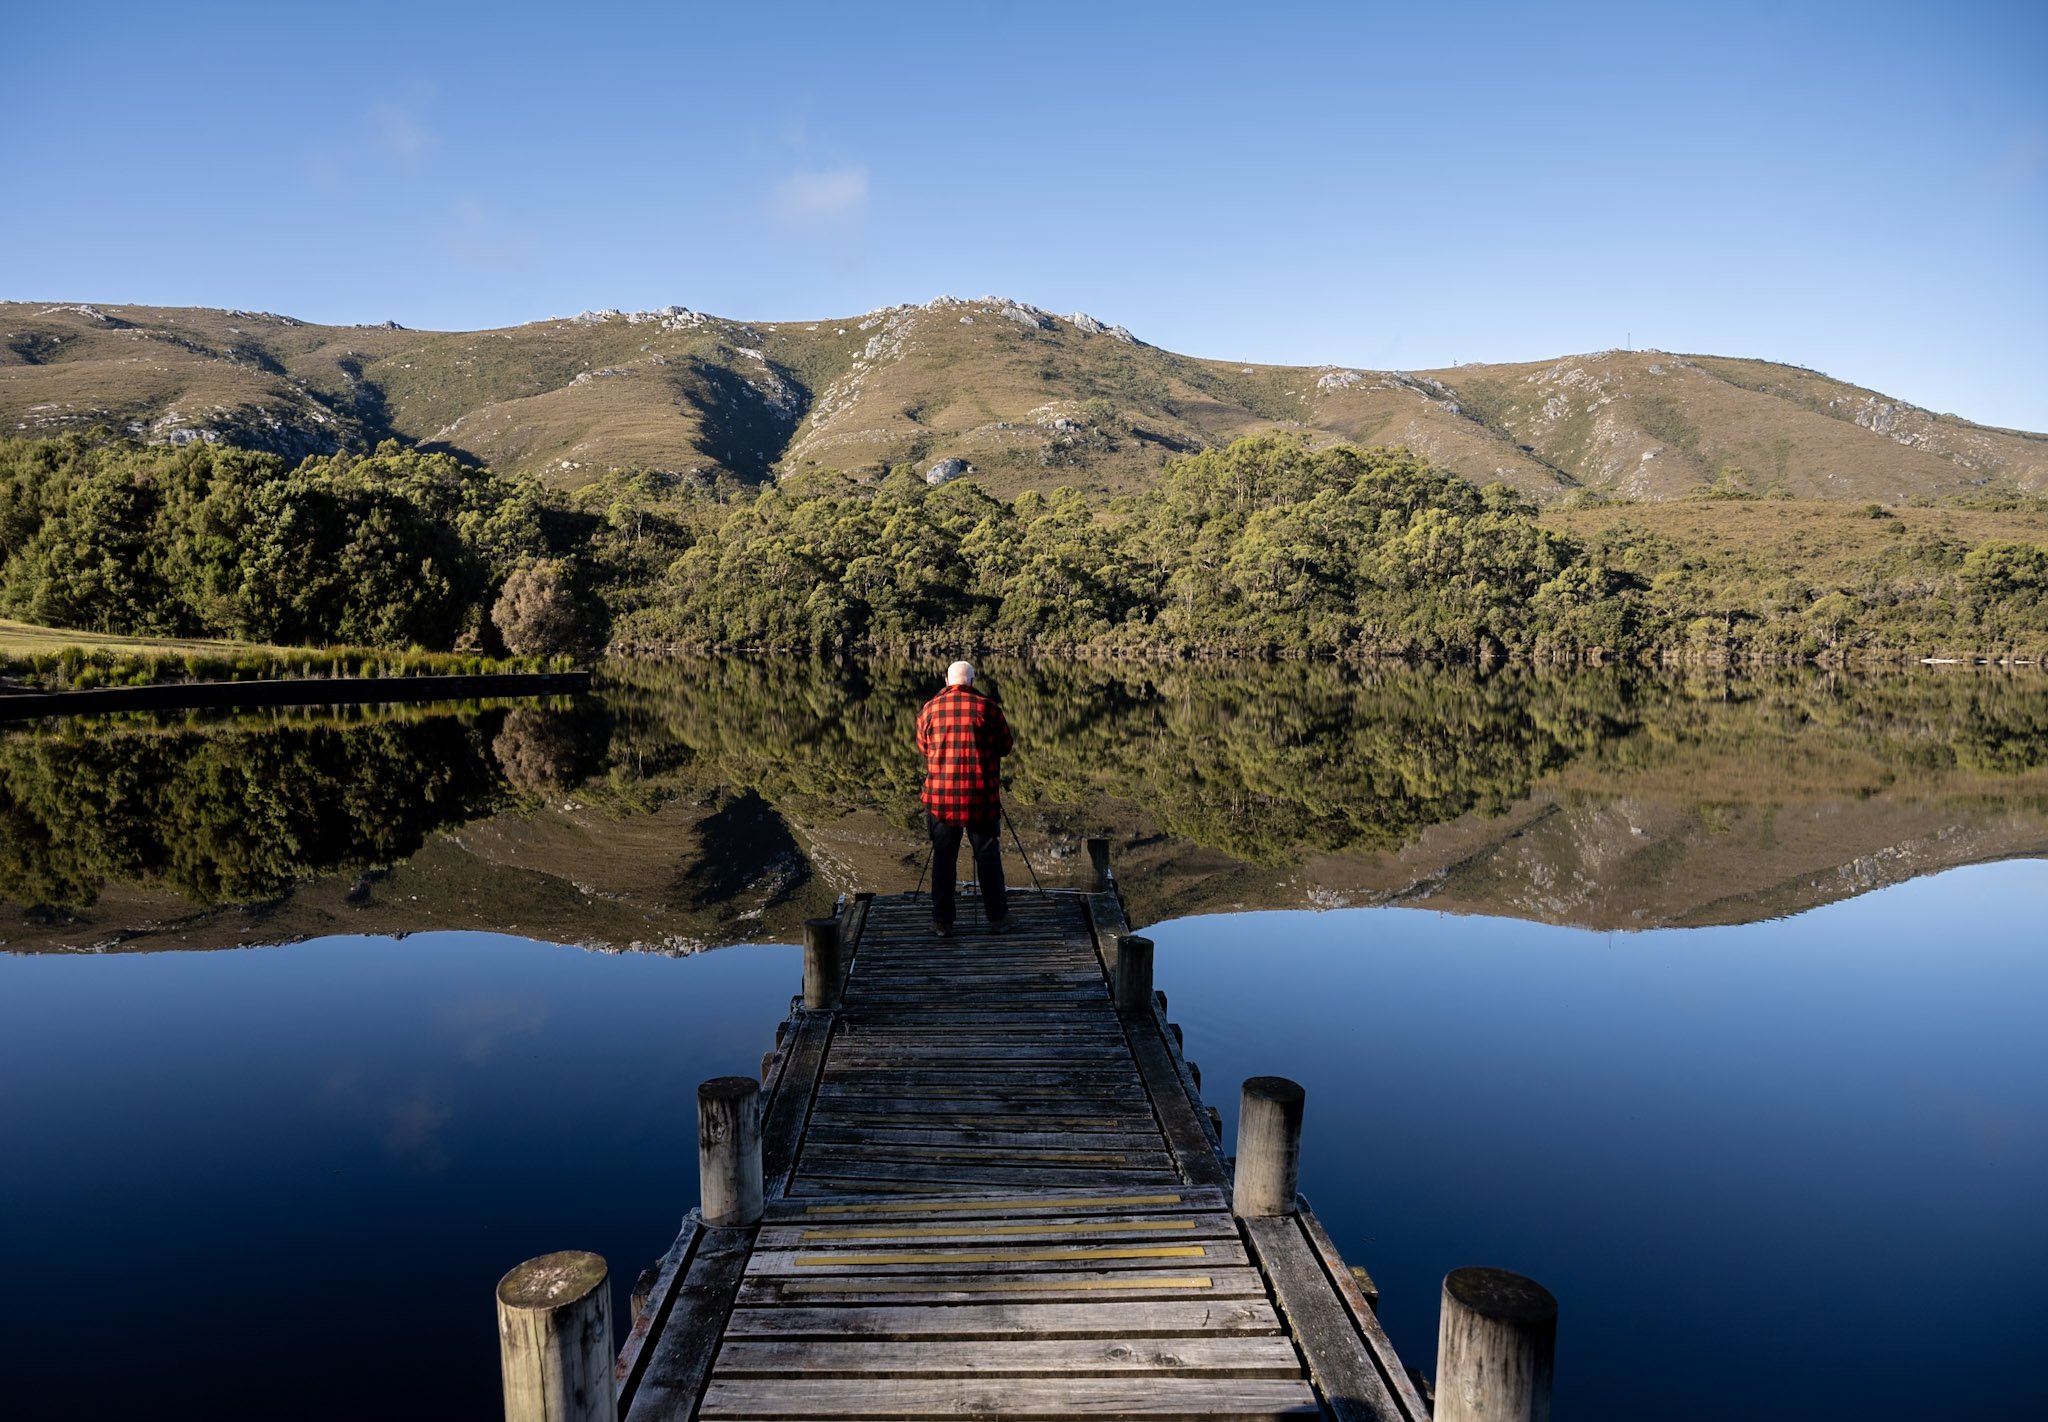
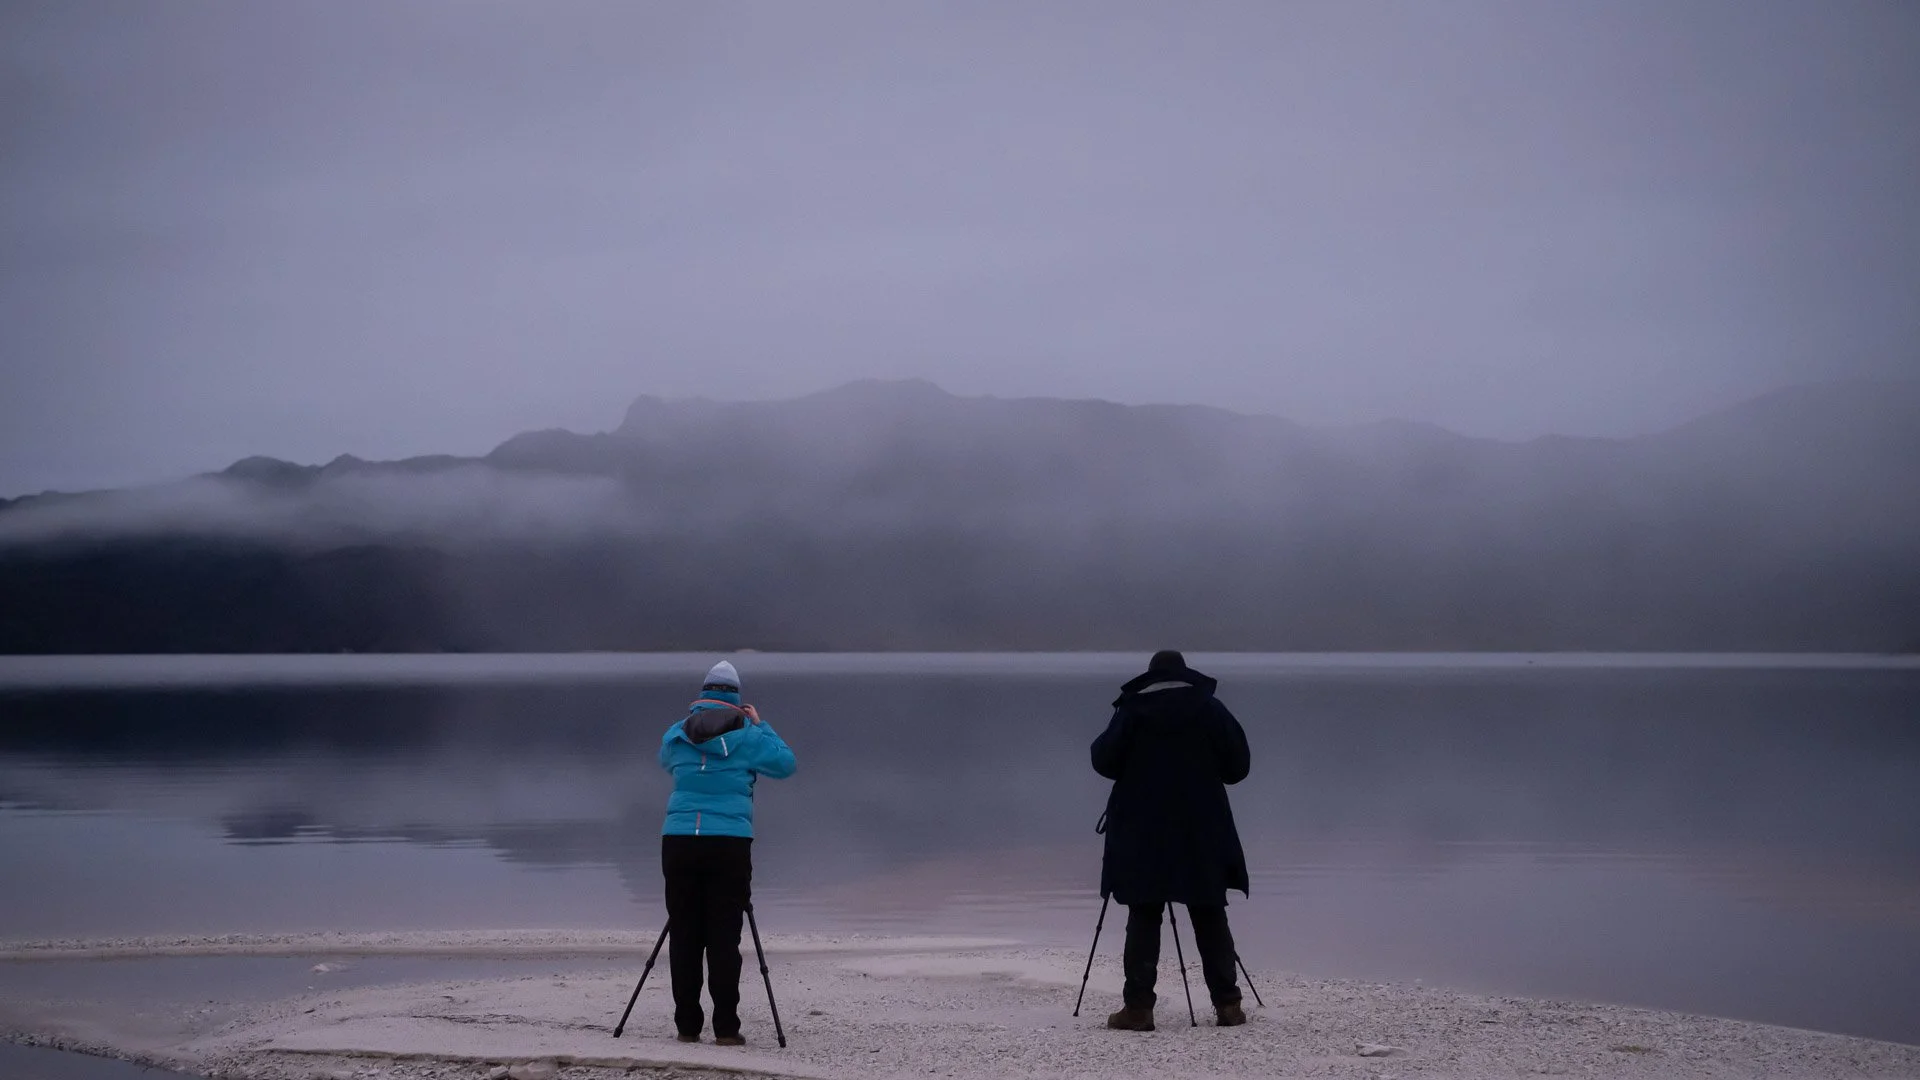
Up early and out in the dark with head torches. We set up compositions before the sun arrives, so you are ready when the light is. With six guests and two instructors, there is always someone beside you when the settings are not doing what you expected.
Mid-morning: the editing table
Back inside, we work through the morning's files together in Lightroom and Photoshop. Shooting well is half of it. Knowing what to do with the file is the other half.
Editing sessions run on big screens. One instructor teaches while the other moves from person to person, so you are never stuck waiting for help. Lunch brings a break before a second editing session.
Afternoon, golden hour and sunset
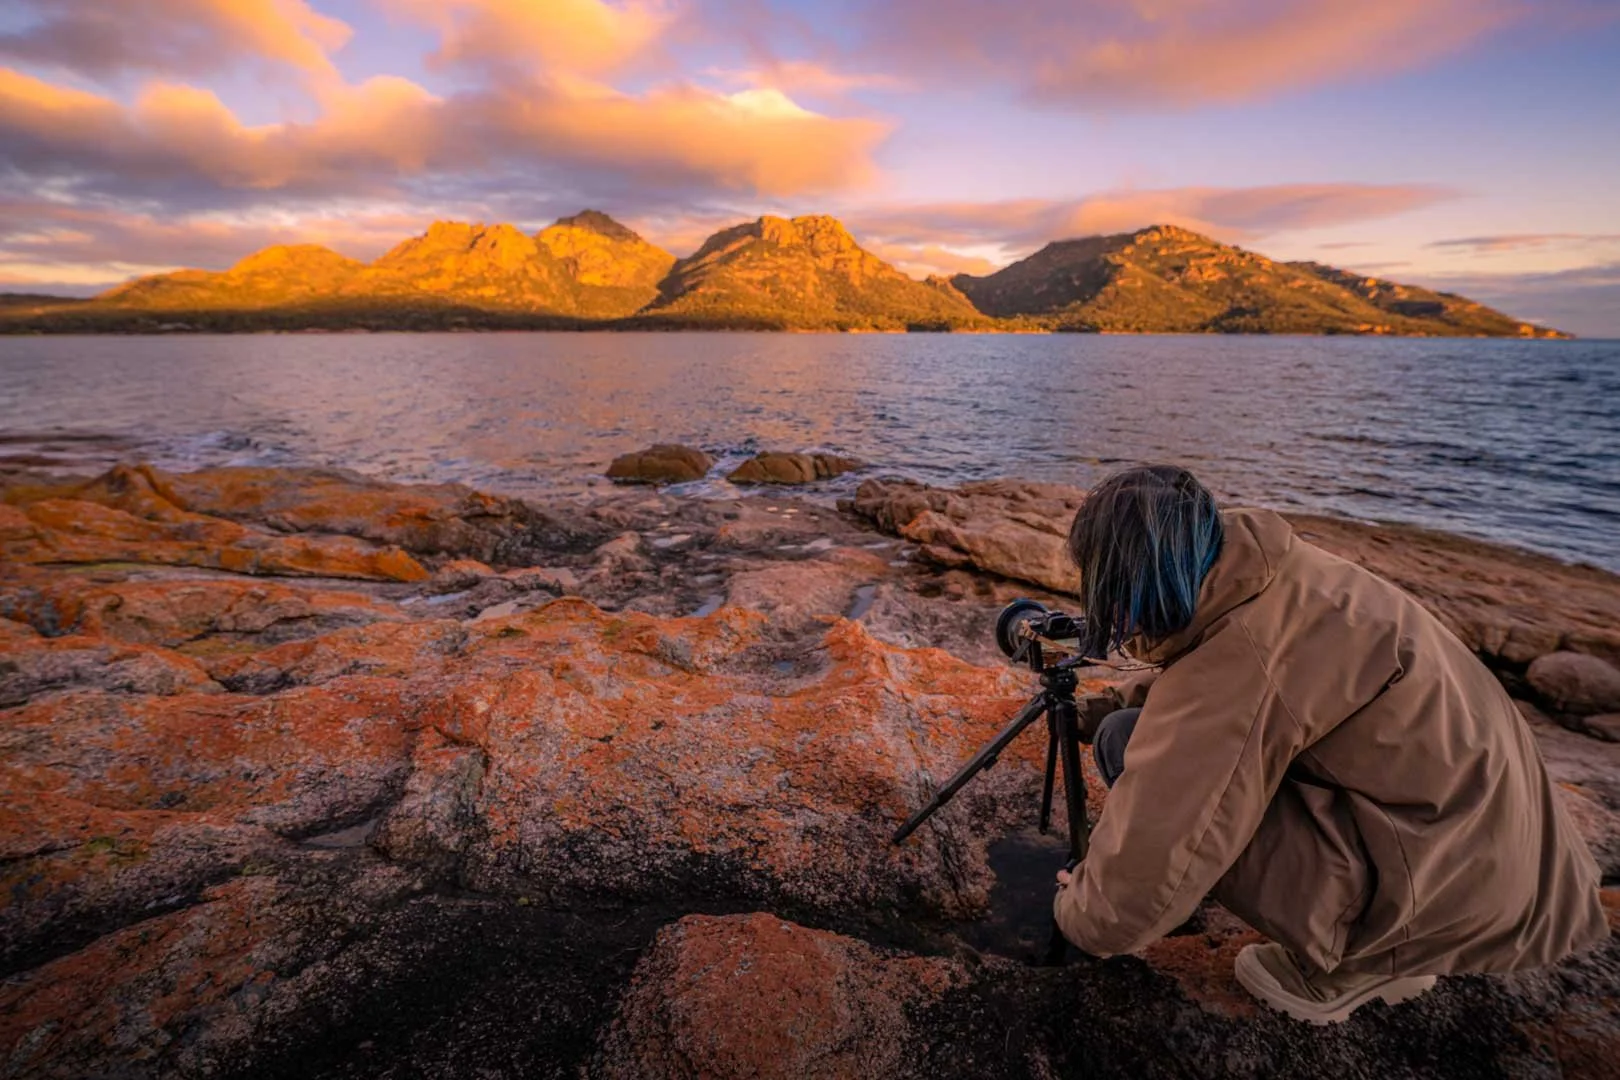
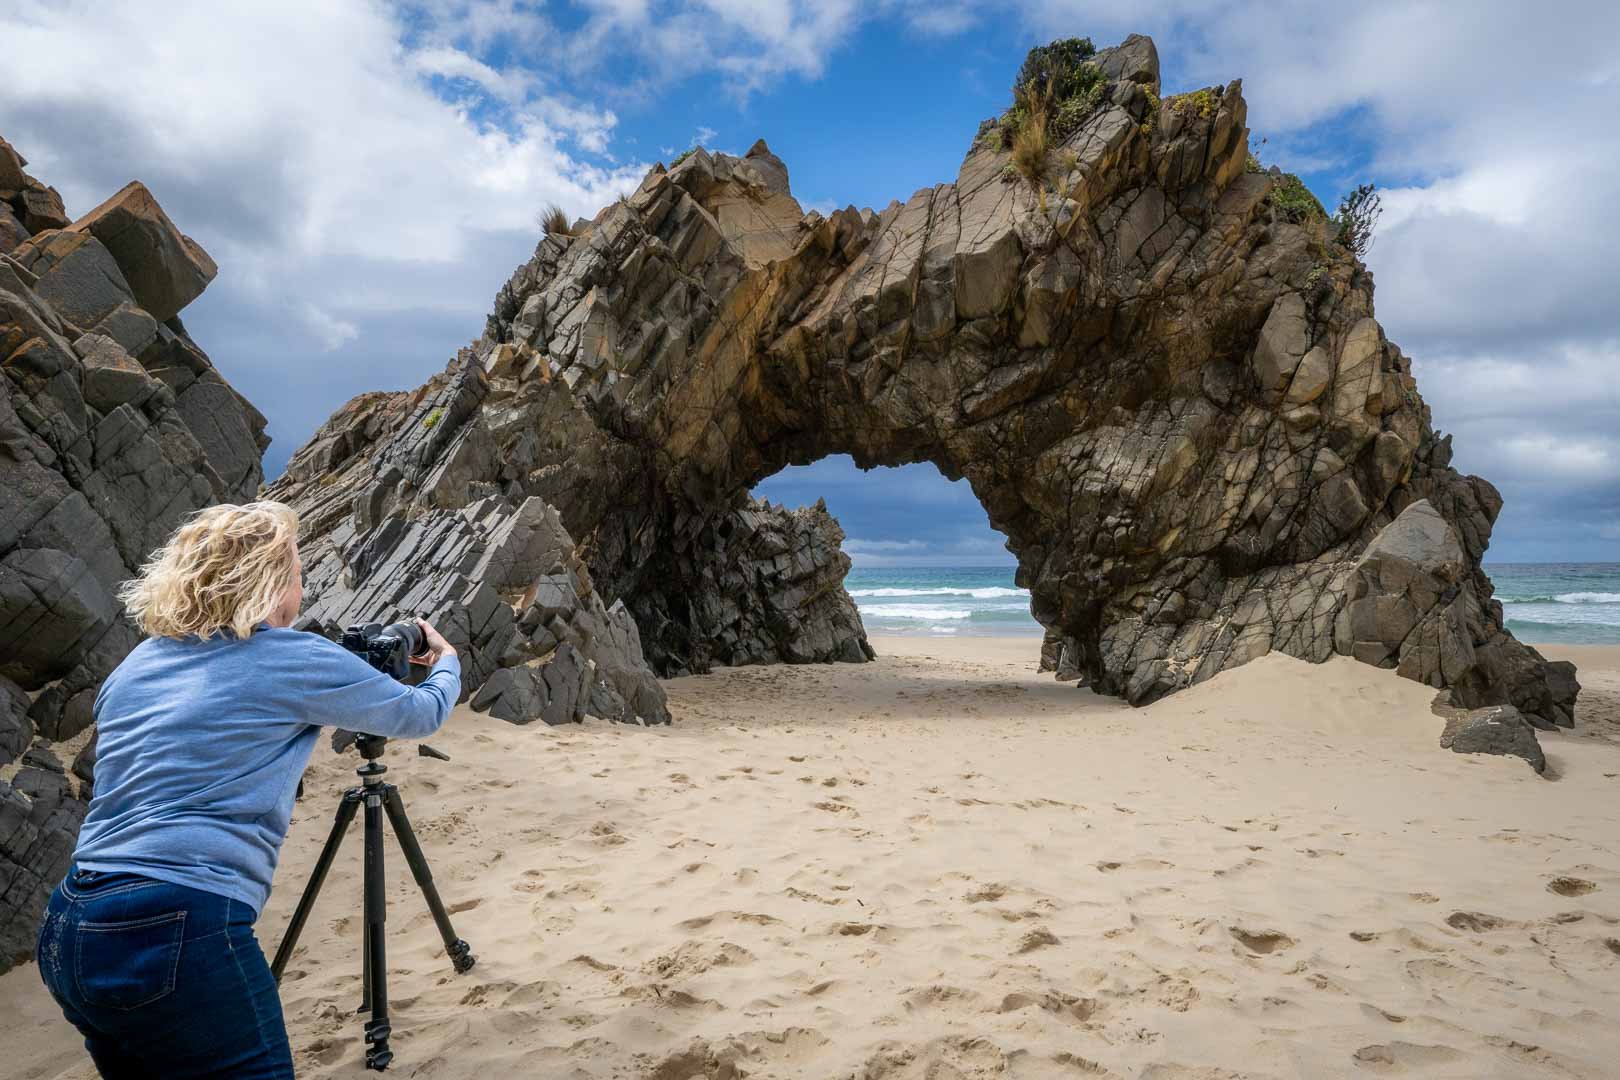
Then we head out again. Sunset is our second favourite time of the day. By day two you will be reading the conditions and choosing your own compositions, which is the point. You will also be fresh from an editing session, so you can put what you learned straight into practice.
Evenings
Dinner together, with good food and conversation about the day's images. If the sky is clear and you have the energy, we head back out for astro. On the right night, the Aurora Australis is a possibility.
What we teach
Everything on tour comes back to three things.
Learn to see. Read a scene, find stronger compositions and understand what makes an image work. Light, depth, foreground, lines and the decisions that turn a view into a photograph.
Learn to shoot. Build the technical skills to respond to what is in front of you. Long exposure, focus stacking, HDR, ICM, astro and aurora. Plus when to use each one.
Learn to shape. Take control of the final image with RAW processing, exposure blending and layer masks, while you develop an editing style that feels like your own.
You also go home with take-home handouts for the parts you forget.
Where you stay
Unless clearly advertised, you get your own private room. Twin share is available if you ask for it. Three meals a day apart from breakfast on day 1 and dinner on the last day, are included, along with private transfers from Hobart and all park passes and permits. We spend a bit more on our food, accommodation and transport because we like you to be comfortable and enjoy some of the finer things Tasmania has to offer.
What to bring
A DSLR or mirrorless camera, charged batteries and memory cards.
Your lenses. If you need advice, ask us.
Filters if you have them: a CPL and ND filters. We can advise if you do not.
A laptop with Adobe Lightroom Classic and Photoshop for the editing sessions.
A tripod for long exposure and astro.
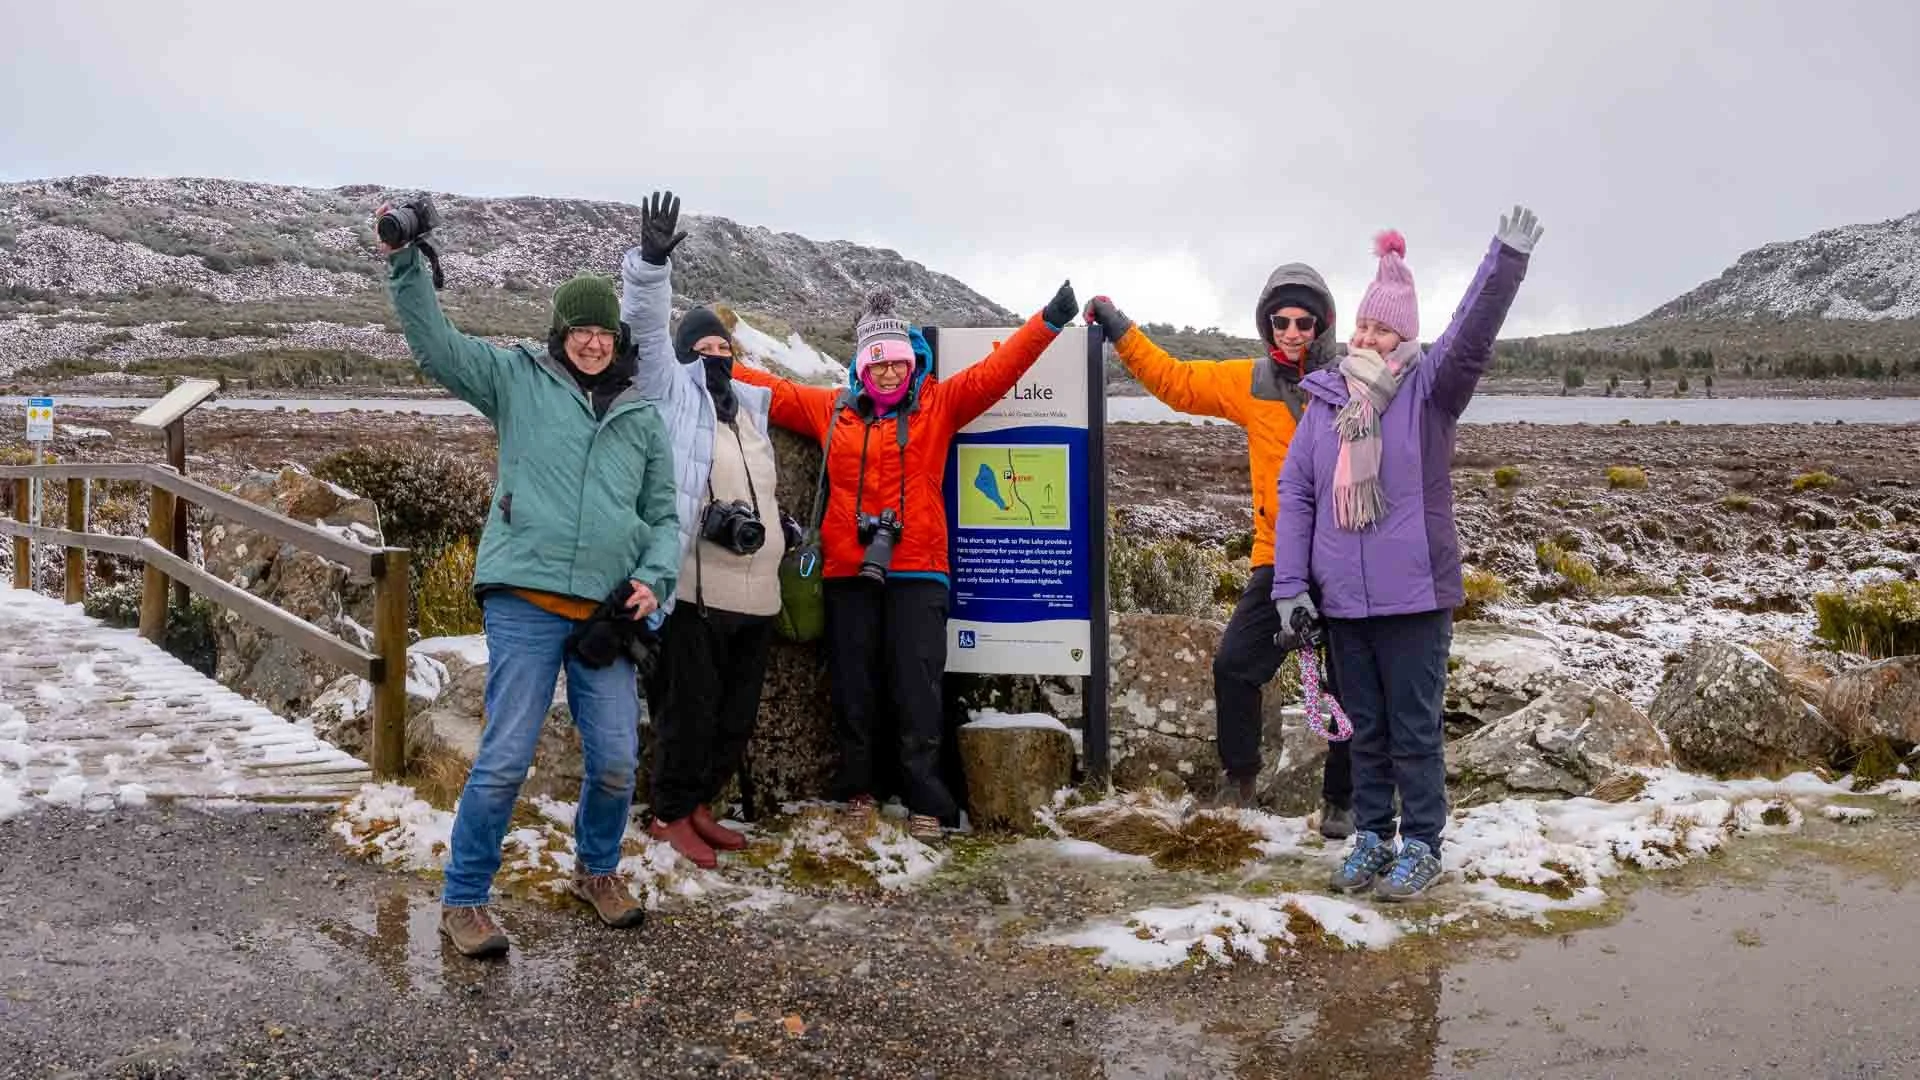
Walking boots, warm layers, a beanie, gloves and a good waterproof jacket.
A head torch.
Is it for you?
If you want to get better at photography in some of the wildest places in Tasmania, with people who live here and know when the light is worth waiting for, it is. Every level is welcome.